
Figma makes it easy to collaborate on design projects, but without a solid structure, even the best-designed files can become a mess.
When teams work together, especially across departments or time zones, having a clean, organized Figma file isn’t just helpful, it’s essential.
It improves handoff, reduces confusion, and helps everyone stay focused on the work instead of digging through cluttered frames.
A messy Figma file full of unnamed layers, jumbled components, and random pages will only slow everyone down.
In this guide, we’ll walk through best practices for organizing your Figma files so your entire team can collaborate smoothly, avoid confusion, and deliver faster.
Why It’s Important to Structure Your Figma Files
When multiple people are working in the same design file, things can get messy fast.
Without structure, it’s easy for files to become cluttered, confusing, and hard to navigate, especially as projects grow or get passed between teams. That’s why setting up a clear structure from the start isn’t just helpful—it’s essential.
Well-structured Figma files save time. Instead of digging through unnamed layers or scattered frames, teammates and stakeholders can quickly find what they need.
Developers can locate components for handoff, project managers can review progress, and designers can focus on refining the work, not cleaning up someone else’s canvas.
A clean file also reduces mistakes. Clear naming, labeled sections, and organized pages help prevent old versions from being used by accident or design inconsistencies from slipping through.
It makes design reviews smoother, handoffs cleaner, and collaboration more productive.
Think of a structured file as a shared workspace. Just like a tidy office or a labeled toolbox, it keeps the team aligned, efficient, and ready to jump in no matter where they’re located or when they join the project.
Here’s how you can start structuring your project files.
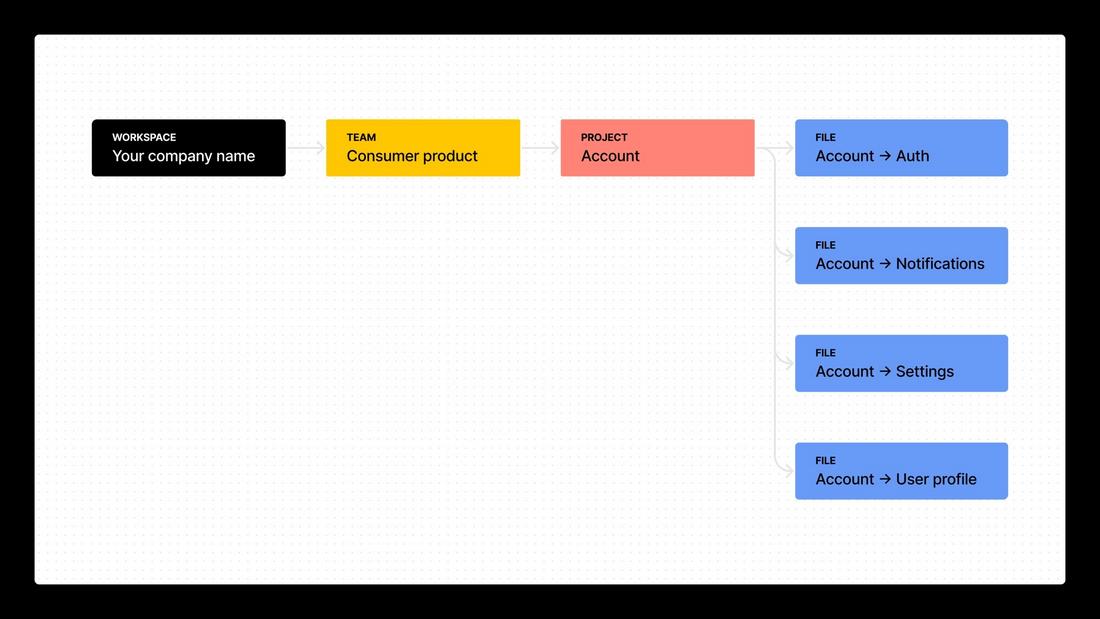
1. Start with a Project-Level Folder Structure
Before you even open Figma, think about how your project lives on disk or in your team’s workspace.
Create top-level folders for each major initiative or product line. Inside each project folder, separate files by purpose:
- Design System – your shared components, styles, and tokens
- UI Kits – reusable patterns for screens and modules
- Feature Files – in-progress work on individual features or pages
- Research & Wireframes – sketches, user flows, low-fi layouts
- Prototypes & Tests – interactive prototypes for user testing or demos
This folder hierarchy helps newcomers know exactly where to go and keeps your Figma workspace tidy.
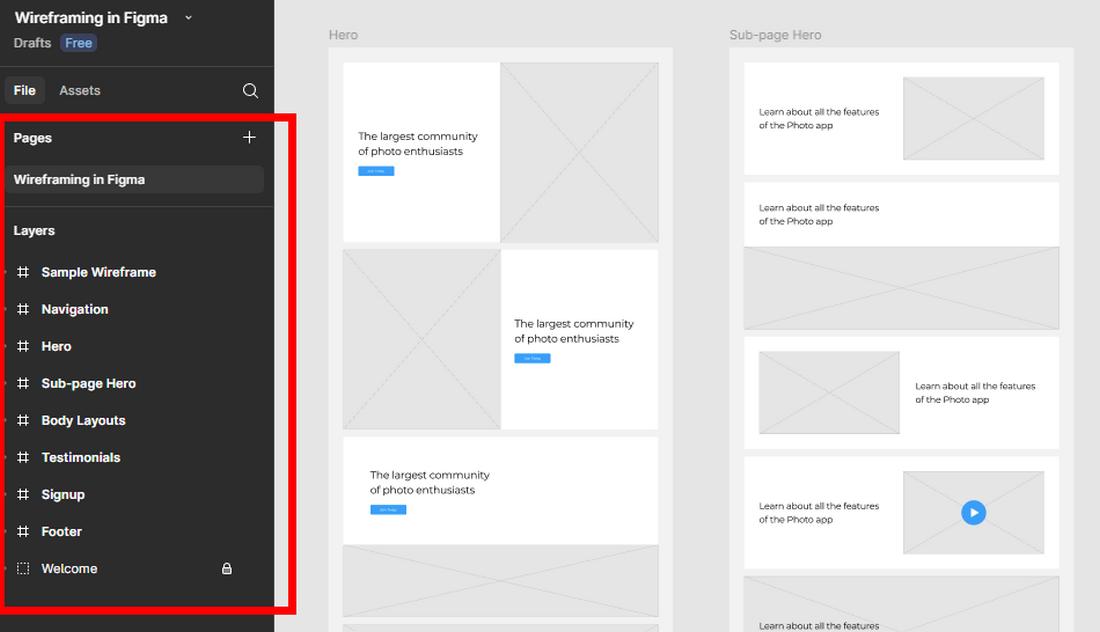
2. Use Naming Conventions for Files and Pages
Consistent naming reduces guesswork.
For file names, include the project code, file purpose, and version if needed, for example: ProjectX – DS (Design System) or ProjectX – Feature – Checkout v2.
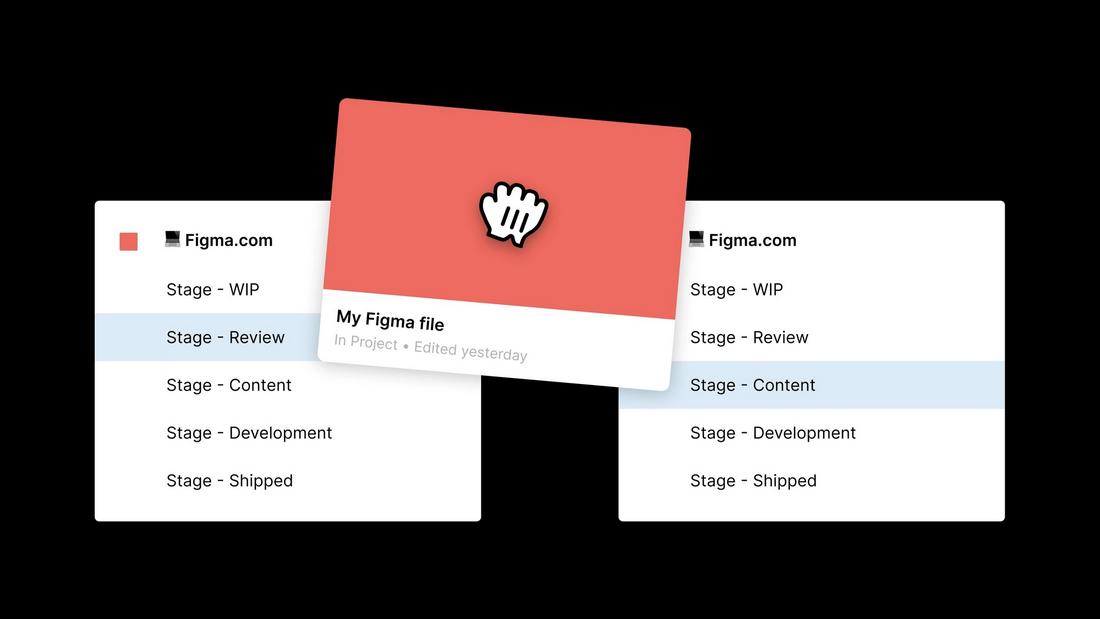
Inside each file, use pages to separate stages or areas:
- Cover – introduction, team links, and notes
- Tokens – color, typography, spacing variables
- Components – buttons, forms, icons, etc.
- Screens – organized by flow or feature
- Archive – deprecated or old versions
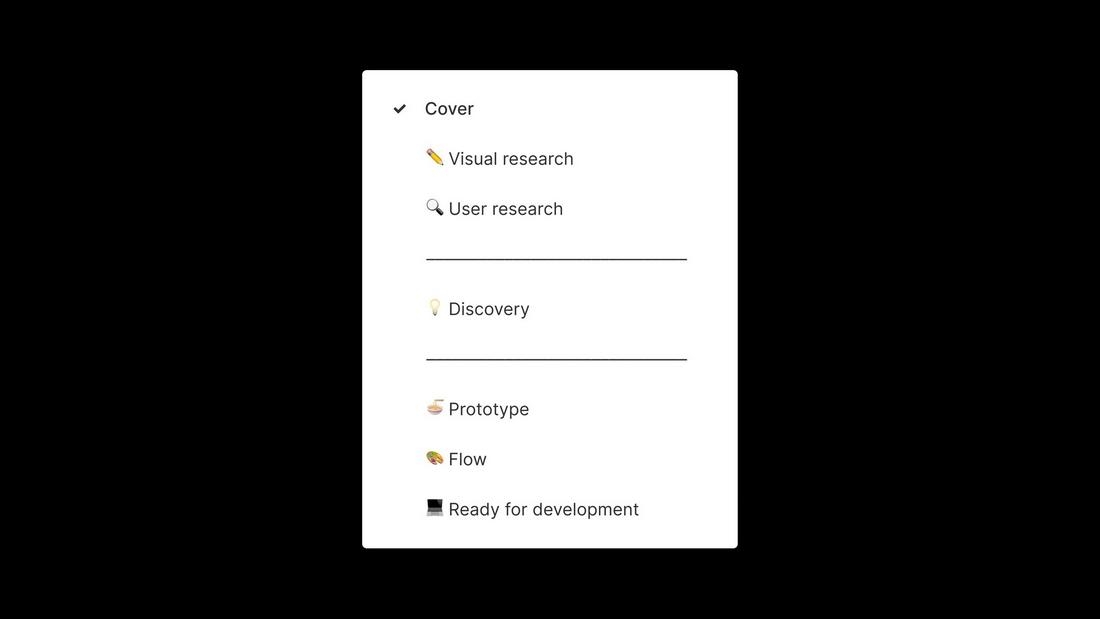
Emojis can help teams visually scan tabs quickly, but if that feels informal, use clear prefixes like “00_Cover,” “01_Tokens,” “02_Components.”
3. Build a Centralized Design System File
A single “source of truth” file for your design system keeps everyone on the same page.
In that file:
- Store your color palette, type scale, and spacing system on a Tokens page
- Create and publish a Library of atomic components (buttons, inputs, icons)
- Use Auto Layout and Variants to make components flexible and consistent
- Document usage guidelines and link to your design documentation
Publish this file as a Team Library so teammates can enable it in their own feature files.
When you update a component, everyone gets the new version instantly.
4. Organize Components and Variants Logically
Within your Components page, group assets by category and state:
- Buttons / Primary / Default, Hover, Disabled
- Form Fields / Input / Filled, Focus, Error
- Icons / Navigation / Home, Search, Settings
Use Variants for related states, rather than separate frames. This keeps your Assets panel clean and lets designers switch states with dropdowns, speeding up the design process.
5. Leverage Styles for Typography and Color
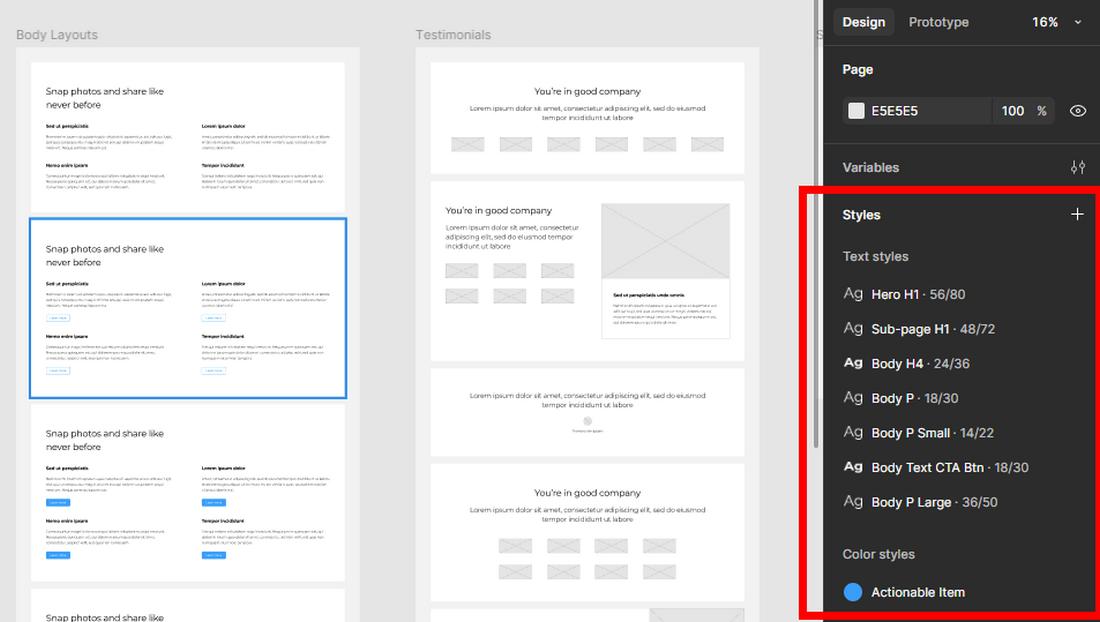
Define Text Styles (Heading 1, Heading 2, Body, Caption) and Color Styles (Primary, Secondary, Background, Error) in your design system file.
When designers apply these styles, any global update, like tweaking the primary brand color, propagates throughout every file using that style.
Encourage your team to avoid manual overrides. If someone needs a new style, they can ask the system owner to add it, keeping consistency intact.
6. Use Pages for Work-in-Progress vs. Production Screens
In each feature file, separate WIP and final designs:
- Drafts – early sketches, experiments, work-in-progress
- Final – approved screens ready for handoff
- Handoff – slices, notes, and comments for developers
When a Draft moves to Final, copy or duplicate artboards into the Final page. This preserves history and makes it clear which screens are production-ready.
7. Document Decisions and Add Context
Never assume everyone knows why a design choice was made.
On your Cover or Tokens page, add sticky notes or text blocks linking to user research, Jira tickets, or meeting summaries.
A simple “Why we chose this shade of blue” note prevents endless back-and-forth and helps new team members ramp up quickly.
8. Control Versions and Iterations
Use Figma’s versioning feature to name and save key milestones:
- “Initial Design – Oct 5”
- “User Feedback Round 1 – Oct 12”
- “Final UI – Oct 20”
This keeps your file size lean and allows you to revert if needed. Encourage designers to save versions before major changes rather than cluttering the canvas with old artboards.
9. Manage Permissions Thoughtfully
Set file and library permissions to match roles:
- Administrators – full edit rights
- Designers – can edit and publish libraries
- Stakeholders – view only or comment only
- Developers – view and handoff access
This ensures non-designers can leave feedback without accidentally moving layers or editing components.
10. Review and Clean Up Regularly
Finally, schedule periodic audits, monthly or per sprint, to delete unused components, merge duplicate styles, and archive obsolete files.
A lean workspace is a happy workspace, and regular maintenance keeps your system running smoothly.
Conclusion
A well-structured Figma environment transforms team collaboration from a headache into a high-speed design machine.
By organizing your Figma files, you’ll save hours of wasted searching and keep everyone focused on what matters: building great products together.
Figma has an official guide on organizing everything from your team to projects and files. We recommend giving it a read if you need to organize your work even further.